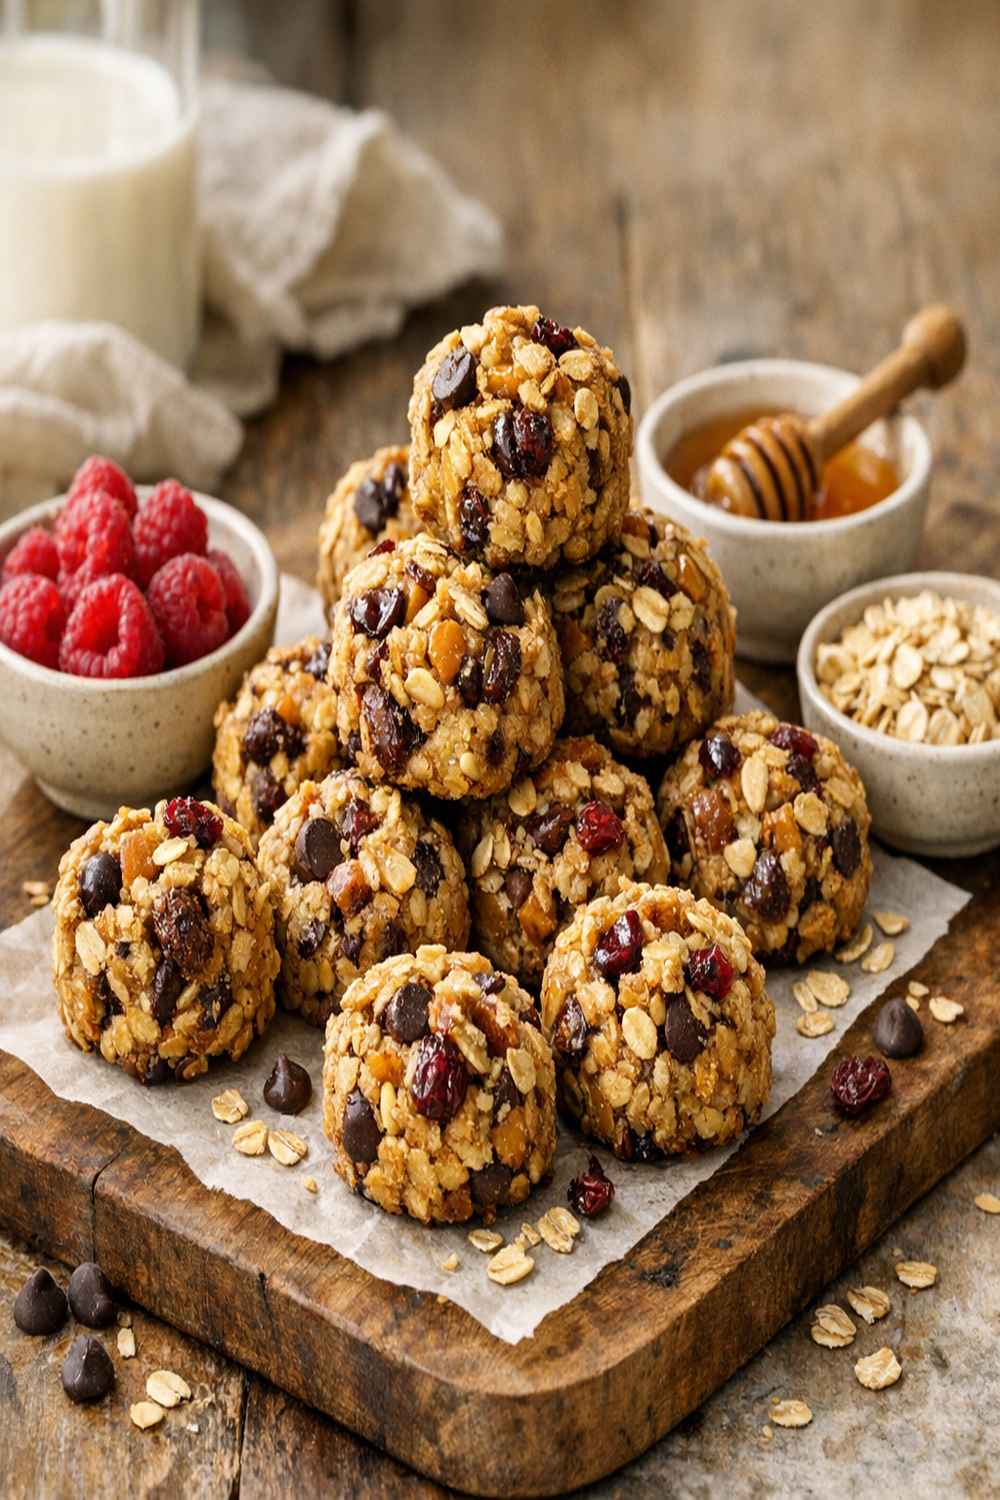

Ingredients
Method
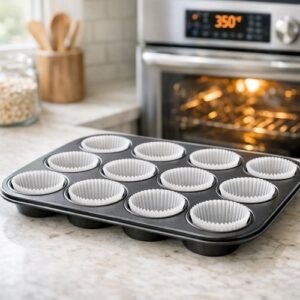
Step 1: Prepare Your Muffin Pan and Heat Your Oven
- Start by preheating your oven to 350 degrees Fahrenheit. This moderate temperature allows the bites to cook through gently without the exterior browning too quickly. If you have a convection oven—common in many Alaskan homes where we're managing wood stoves alongside conventional appliances—use 325 degrees instead and reduce baking time by 2-3 minutes. While the oven warms, lightly grease your 12-cup muffin pan with unsalted butter or cooking spray. The butter works better because it provides a subtle flavor that complements the finished bites. If you're making a double batch, have your second pan ready. Silicone muffin cups work beautifully here—they release these bites with zero struggle, which matters when you're trying to maintain that tender crumb structure.
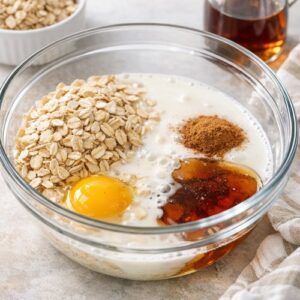
Step 2: Combine Your Base Ingredients
- In a medium mixing bowl, combine 2 1/2 cups of rolled oats, 1 large egg, 1 1/2 cups of milk, and 1/4 cup of pure maple syrup. Add 1 teaspoon of ground cinnamon and 1/2 teaspoon of sea salt. Stir everything together until fully combined—you're looking for a texture that's thick but still pourable, similar to pancake batter but slightly thicker. This is the critical moment where consistency matters. If your batter seems too dry, add milk one tablespoon at a time. Too wet? Add oats in small increments. At Alaskan elevations and humidity levels, your batter might behave differently than at sea level. Trust what you see in front of you more than the recipe numbers. The mixture will seem a bit loose—that's exactly right. The oats will continue absorbing liquid even as you fill the cups, and that continued hydration creates the tender texture we're after.
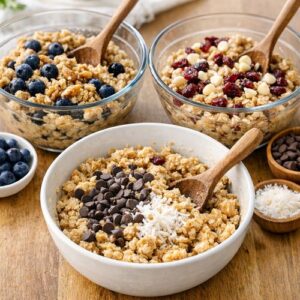
Step 3: Customize Your Flavor Combinations
- Now comes my favorite part—creating the flavor profiles you actually want to eat. Divide your mix-ins into groups and fold them into specific portions of the batter. This approach means you can make four or five different varieties in a single batch without any additional effort. My most requested combinations: apple with cinnamon, banana with natural peanut butter, fresh raspberries with mini dark chocolate chips, and blueberries with chopped almonds. But you're the expert on your own preferences—these are simply starting points. Dried cranberries with orange zest, chopped dates with walnuts, fresh peaches with candied ginger—all of these work beautifully. Keep portions consistent. If you're adding fruit, aim for about 2 tablespoons per bite. Nuts should be roughly 1 tablespoon per bite. This balance prevents any single flavor from overwhelming the others and ensures even distribution across your batch.
Step 4: Fill Your Muffin Cups with Even Distribution
- Using a small ice cream scoop or a 1/4-cup measure, divide the batter evenly among your 12 muffin cups. This is where precision matters—if some cups get significantly more batter than others, they'll bake at different rates. You want all twelve bites finishing at exactly the same moment with the same level of doneness. Fill each cup so the batter comes about three-quarters of the way up the side. This leaves room for slight expansion without overflow. If you're using silicone cups, place them on a baking sheet for stability and easier handling. Take a moment to ensure you've distributed the mix-ins somewhat evenly. Each cup should contain a balanced portion of your chosen add-ins so nobody gets a bite that's all nuts or all fruit.
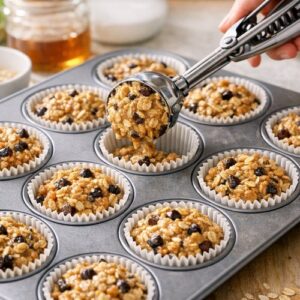
Step 5: Bake Until Golden and Set
- Place your muffin pan in the preheated 350-degree oven. Bake for approximately 25 minutes. You're looking for two specific signs of doneness: the tops should be light golden brown, and a toothpick inserted into the center of one bite should come out clean or with just a few moist crumbs clinging to it. Baking time can vary by 2-3 minutes depending on your oven's personality and your elevation. Alaska's elevation changes from sea level in Juneau to over 3,000 feet in some interior regions, which affects baking time. Start checking at 22 minutes and proceed from there. Do not overbake. These bites continue cooking slightly from residual heat even after you remove them from the oven. Slightly underbaked is far better than dry.
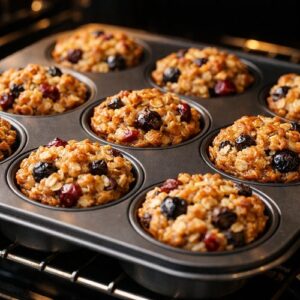
Step 6: Cool Before Removing From the Pan
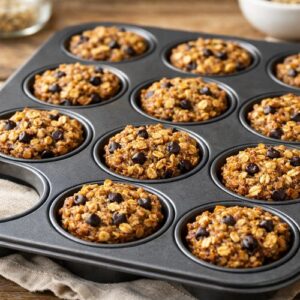
- Remove your pan from the oven and let the bites cool for 10-20 minutes while still in the muffin cups. This resting period allows them to firm up just enough to release cleanly without falling apart. During this time, they're still warm and pleasant to eat, but they've set enough to handle movement. After 15 minutes of cooling, run a thin knife around the edges of each cup to loosen them gently. This prevents any sticking and makes removal effortless. If you're using silicone cups, they release with almost no effort. Once loosened, carefully turn each bite out onto a wire cooling rack. Let them cool completely before storing. This final cooling step prevents condensation from building up during storage, which would make them soggy.
Notes
- Skipping the even distribution step - If some muffin cups get significantly more batter than others, they'll finish baking at different times. The cups with more batter will still be slightly underdone when the others are perfectly set. Use a measuring scoop and be intentional about filling each cup to the same level.
- Opening the oven door too frequently - I know it's tempting to check on them, but each time you open the oven, you're releasing heat and affecting baking time. Set a timer and trust the process. Check only once, around the 22-minute mark.
- Overbaking due to fear of underbaking - These bites continue cooking slightly after you remove them from the oven. If they look almost set when you pull them out—not jiggly, but not rock-hard either—they're done. Overbaked bites become dry and dense, losing the tender quality that makes them special.
- Not accounting for your specific elevation and oven personality - If you live in Alaska's interior at significant elevation, baking times differ from sea-level recipes. Similarly, every oven runs slightly differently. The first time you make these, pay attention to exactly when they look done in your specific kitchen. Take notes. Adjust your timing on subsequent batches based on what you observe.