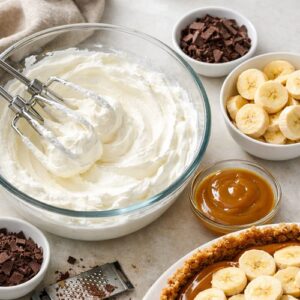

Ingredients
Method
Step 1: Create Your Perfect Biscuit Base (5 minutes active time)
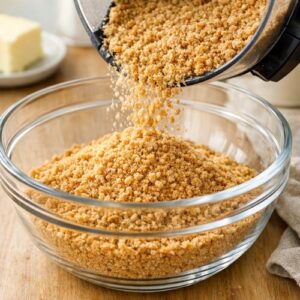
- Pour your crushed digestive biscuits into a medium bowl. The key is achieving fine, uniform crumbs—not powdery dust, but not chunky either. I pulse mine in a food processor for about 20 seconds, then finish by hand. This matters because uneven crumbs create weak spots in your crust. Add the melted butter, honey, and salt. Here's the crucial part: mix until it resembles wet sand. You want every single crumb coated but not soggy. Press firmly into your 9-inch removable-base tart tin using the back of a spoon dipped in water (the water prevents sticking). Work from the center outward, creating even pressure. You're not crushing—you're compacting gently. Why this works better than other methods: A base that's pressed too firmly becomes hard and dense. A base that's barely compacted falls apart. This middle ground creates a crust that's sturdy enough to hold the layers but still has a pleasant texture you actually want to eat.
Step 2: Chill the Base (30 minutes, hands-off time)
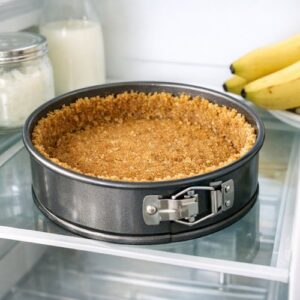
- Place your prepared base in the refrigerator while you make the caramel. This isn't optional—it's essential. A cold base absorbs the caramel differently than a room-temperature one, creating better adhesion and preventing the bottom from becoming soggy. If you're in a rush, even 15 minutes helps significantly. This is when I prep my other ingredients: slicing bananas just before assembly (more on that in a moment), whipping my cream, and grating my chocolate.
Step 3: Make Your Caramel Layer (5 minutes active time)
- Add the butter and dark brown sugar to a small, non-stick saucepan. Turn your heat to low. I mean genuinely low—if you rush this step with medium heat, you'll end up with burnt sugar and a ruined batch. Stir continuously as the butter melts and the sugar dissolves. You're looking for a homogeneous, smooth liquid. This should take about 2 minutes. Once your sugar is completely dissolved, pour in your entire can of condensed milk. Stir well to combine. Now increase the heat to medium. Continue stirring constantly. You'll see the mixture bubble and darken. Keep going for about 1-2 minutes. You're watching for a deep golden color and a noticeably thicker consistency. The best way to test: drag your spoon through the caramel—it should leave a brief trail before filling back in. If it's still thin and pours like honey, keep going. If it's suddenly dark brown and thick, remove it immediately. Finish with a tiny pinch of fleur de sel. This is where experience matters most. You want caramel, not burnt sugar. The condensed milk contains sugar that will continue darkening off-heat, so pull it from the stove when it's slightly lighter than your target color. It will deepen as it cools.
Step 4: Assemble the Caramel and Chill (1 minute active time, 1 hour passive time)
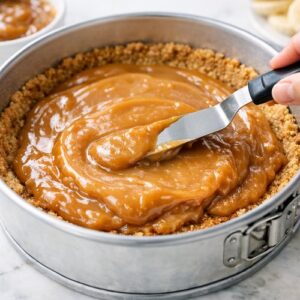
- Remove your chilled base from the refrigerator. Immediately spoon the warm caramel onto the biscuit crust. Using an offset spatula or the back of a spoon, spread it evenly in a thin, consistent layer. Work quickly before it sets. You want coverage but not a caramel that's so thick it overwhelms the other flavors. Place the pie back in the refrigerator for at least 1 hour. This is crucial. The caramel needs to set completely, or it'll squish around when you add the bananas and cream. If you have time, chill overnight—this develops even better flavor.
Step 5: Whip Your Cream and Prepare Toppings (5 minutes)
- Remove your pie from the refrigerator about 10 minutes before assembly. While it softens slightly (this makes it easier to eat), prepare your whipped cream. Pour cold heavy cream into a chilled bowl. Whip on high speed until soft peaks form (when you pull the whisk up, the cream holds a peak that gently curls over). This takes about 2-3 minutes with an electric mixer, longer by hand. At soft peak stage, add your powdered sugar and vanilla extract. Whip another 30 seconds until combined. Stop immediately at this point. Overwhipping turns cream into butter—not the goal here. Slice your bananas thinly just before you're ready to serve. This prevents browning and oxidation. Pro tip: slice on a slight bias for a more elegant presentation.
Step 6: Final Assembly (3 minutes)
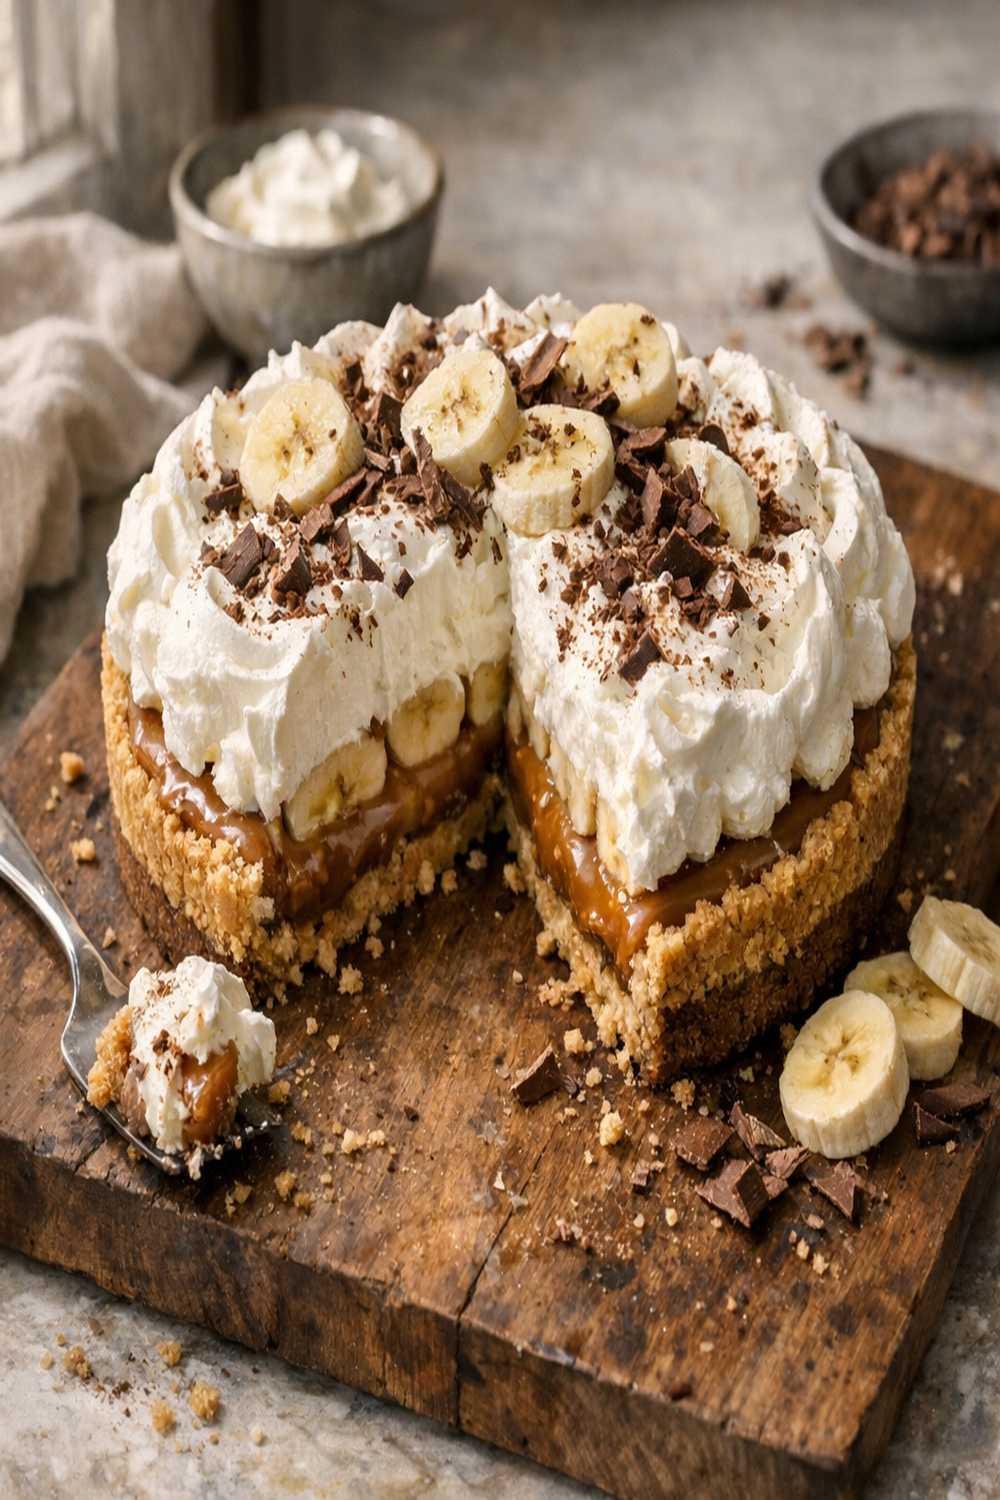
- Remove the tart tin's removable ring by placing the whole pie on a small can or glass and gently pushing down while the ring falls away. This prevents fingerprints on your beautiful crust. Arrange banana slices in overlapping concentric circles across the caramel layer. Spoon or pipe the whipped cream over the bananas, creating gentle peaks and valleys. Finish by grating dark chocolate across the top. Serve immediately. This pie is best eaten within 2 hours of final assembly, though the base and caramel layers will stay fresh for up to 3 days when stored properly (more on that below).