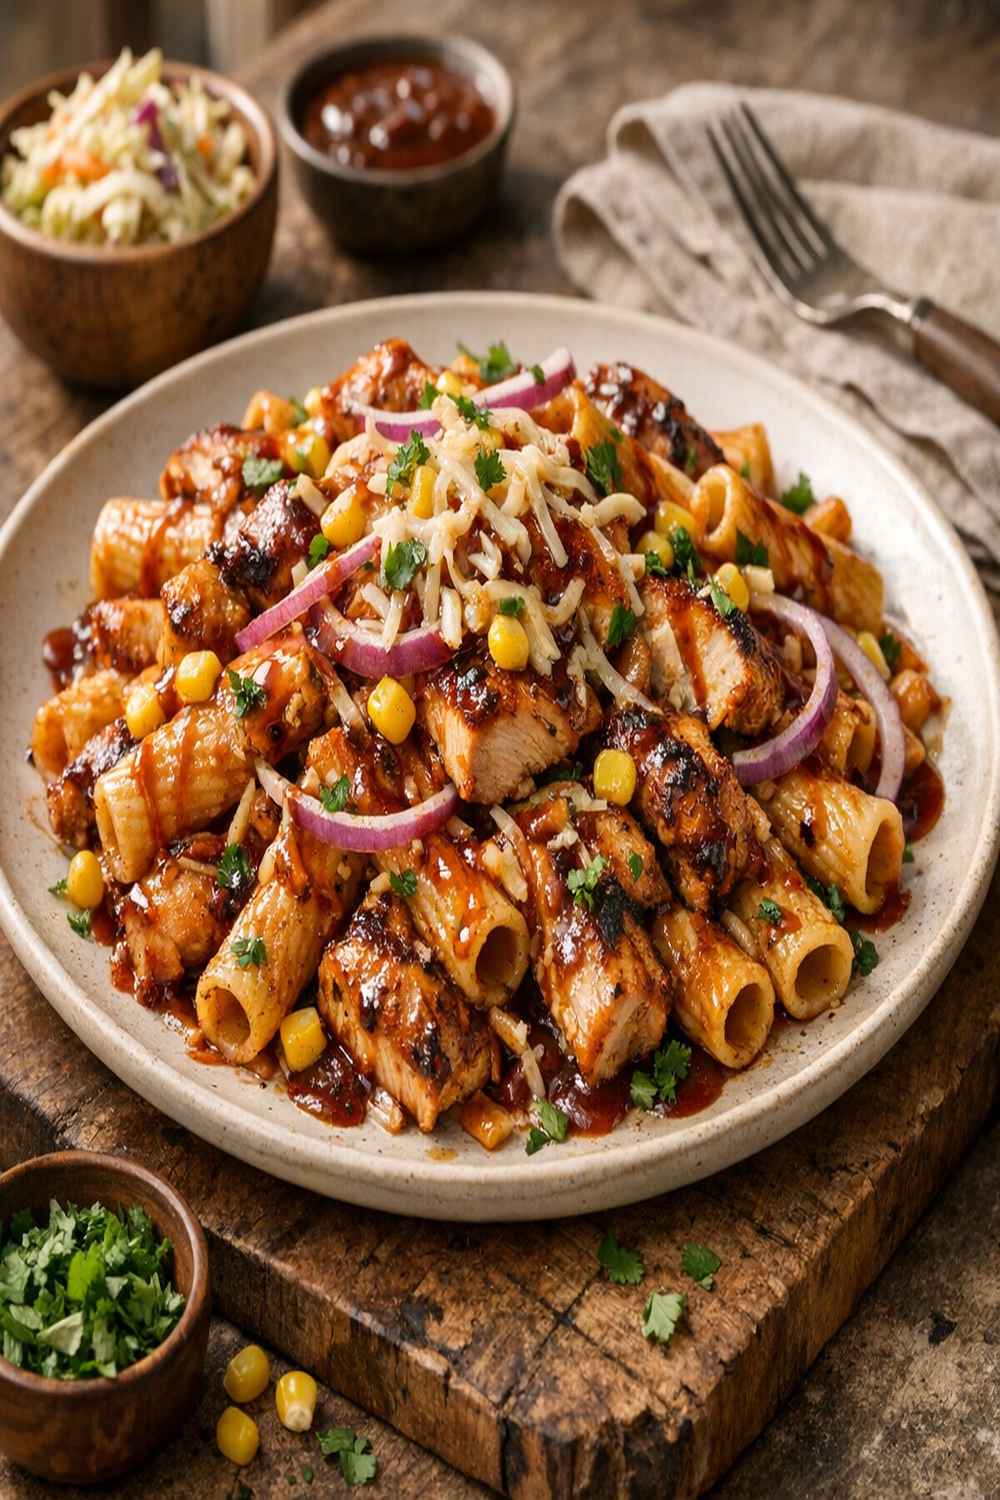

Ingredients
Method
Step 1: Prepare Your Ingredients (Mise en Place)
- Before any heat touches your pan, prepare everything and arrange it within arm's reach. This is called mise en place—French for "everything in its place"—and it's the single most important habit in cooking. When you're ready to start cooking, you won't be hunting for ingredients while your pan gets too hot or cools down. Chop your onion into pieces roughly the size of a dime. Don't stress about perfect uniformity—even sizes cook at the same rate, which is what matters. Peel your garlic cloves and crush them with the flat side of your knife (smash them gently; you're not angry at them). Cut your red peppers in half, remove the seeds and white membrane, then cut the flesh into bite-sized pieces. Cut your chicken into chunks approximately the size of walnuts—not tiny, not huge, just bite-sized. Place your bacon strips on a cutting board and cut them into roughly one-inch pieces. Pour your vegetable broth into a measuring cup and leave it on the counter (it doesn't need to be hot yet, despite the name; the heat from your pan will warm it). Measure out your paprika, BBQ sauce, and salt and pepper into small bowls. This takes maybe five minutes, and it transforms the cooking process from stressful to smooth.
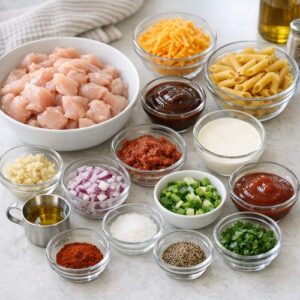
Step 2: Brown the Bacon (Create Your Fat Base)
- Place your large sauté pan on the stove and turn the heat to medium. This is important: medium heat, not high. High heat will burn your bacon before it renders its fat properly. You want slow, steady browning. Add your bacon pieces to the cold pan. Yes, cold. This allows the fat to render gradually as the pan heats up, which means crispier bacon and more flavorful rendered fat for cooking everything else. Let it cook undisturbed for about three minutes. Then stir it occasionally for another two to three minutes until the edges are golden brown and the fat is releasing into the bottom of the pan. You should see clear fat pooling—that's liquid gold for flavor. Don't drain this fat. Don't pour it off. This is the foundation of your entire dish's flavor. If you rendered a lot of fat and it seems excessive (more than a tablespoon), you can remove about half, but most of it needs to stay.
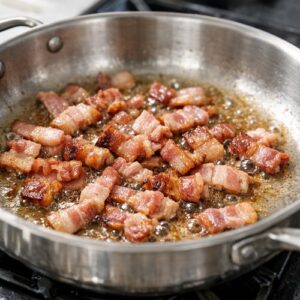
Step 3: Sear the Chicken (Build Flavor Through Browning)
- Add your chicken pieces to the pan with the rendered bacon fat. Don't stir immediately. This is crucial. Let the chicken sit undisturbed for about two minutes so it makes contact with the hot pan and begins to brown. You're looking for golden-brown edges on the chicken—this is flavor development through the Maillard reaction (a chemical process that creates complex flavors when protein meets heat). After those two minutes, stir the chicken and bacon together. Continue cooking for another three to four minutes until the chicken is mostly white on the outside with golden-brown edges. The inside doesn't need to be fully cooked yet; we're just sealing the exterior and building flavor. You'll know this step is done when you can't see raw pink on the outside of any piece and the pan smells incredible—smoky, savory, absolutely delicious.
Step 4: Add the Vegetables (Soften Without Overcooking)
- Add your chopped onion, crushed garlic, and red pepper pieces to the pan with the bacon and chicken. Stir everything together thoroughly so the vegetables distribute evenly and make contact with the hot pan. This should take about one minute—you're not cooking them yet, just incorporating them. Now let this mixture cook, stirring occasionally, for about five minutes. You're watching for the onion to become translucent (you can see through it) and the peppers to soften slightly. The kitchen will smell phenomenal—garlicky, sweet from the peppers, smoky from the bacon. This is the smell of flavor building. When the vegetables look soft and the onion is mostly clear rather than opaque white, you're ready for the next step.
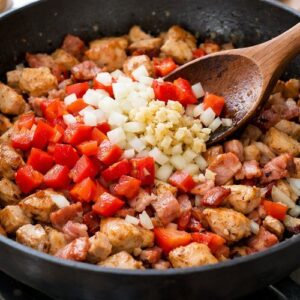
Step 5: Add Pasta, Sauce, and Broth (Create Your Cooking Liquid)
- This is where the magic really happens. Add your dried pasta directly to the pan—no pre-cooking, no separate pot. This might feel wrong; I promise it's not. Add the canned tomatoes (juice and all), the BBQ sauce, the smoked paprika, and 500 milliliters of your vegetable broth. Save the remaining 250 milliliters in case you need extra liquid later. Stir everything together thoroughly for about one minute. Make sure the pasta is submerged or mostly covered with liquid. Some pieces can be peeking out; they'll absorb liquid as it cooks. Season with a pinch of salt and a few grinds of black pepper. Taste the broth—does it need more salt? Add a tiny bit now rather than at the end. The mixture should look wet and saucy, not dry. If it looks dry, add some of that reserved broth.
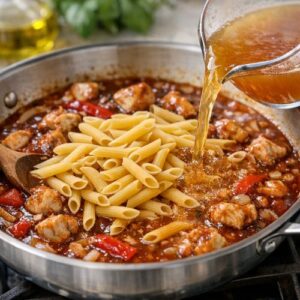
Step 6: Cover and Simmer (Let the Pan Do the Work)
- Place a lid on your pan, or if you don't have one, cover it tightly with aluminum foil. Turn the heat down to medium-low (this is important—you want a gentle simmer, not a rolling boil, or the pasta will break apart and become mushy). Set a timer for fifteen minutes. During this time, the pasta will absorb the broth and sauce, cooking directly in the flavored liquid. This is passive cooking—you're not doing anything except occasionally checking that the pan isn't boiling too vigorously. At the fifteen-minute mark, carefully remove the lid (steam is hot!), and stir the pasta. Check if the pasta is tender by tasting a piece. Is it soft but still slightly firm to the bite? Perfect. Is it still crunchy? Cook for another two to three minutes and check again. Is it soft and mushy? You've cooked it a bit long, but it's still delicious—this is a learning curve, and timing varies based on pasta brand and your stove. Most of the liquid should be absorbed, but some sauce should remain coating the pasta. If the pan looks very dry, add a splash of that reserved broth.
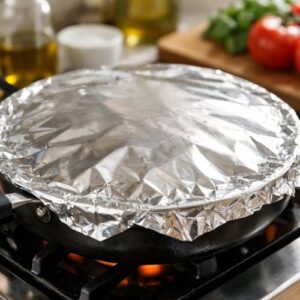
Step 7: Preheat Your Broiler (Prepare for the Finale)
- About five minutes before you think the pasta will be done, turn your oven's broiler on to high. Position the rack about six inches below the heating element. This gives your oven time to heat while the pasta finishes cooking, so everything is ready when you need it.
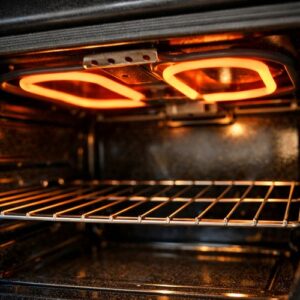
Step 8: Add Cheese and Broil (Create a Golden Crust)
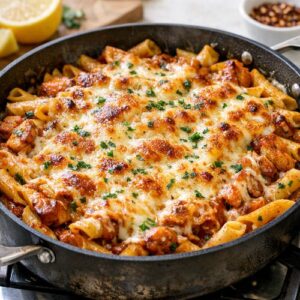
- Once the pasta is cooked to your liking, remove the pan from the stovetop. Taste it again and adjust salt and pepper if needed. If you have fresh lemon juice, squeeze a small amount over everything—it brightens all those smoky, savory flavors beautifully. Sprinkle your shredded mozzarella evenly over the top of the pasta. Try to distribute it so there are no bare patches. Carefully place the pan under the broiler (use an oven mitt; the handle will be hot). Set a timer for three to four minutes. Watch through the oven window. You're looking for the cheese to melt completely and turn golden-brown in spots. Some brown is good—that's where caramelization happens. When it looks melted and golden, remove the pan from the oven immediately. The cheese will continue cooking slightly from residual heat. Let it sit for one minute before serving. This allows the cheese to set slightly so it doesn't separate when you portion the dish.
Notes
- 750 milliliters hot vegetable broth (store-bought or homemade; keep unopened boxes in your pantry, refrigerate after opening for up to five days, or freeze for later)
- 1 large yellow onion (choose ones that feel heavy for their size and have papery, dry skin; store in a cool, dark place, not the refrigerator)
- 600 grams chicken breast meat (ask the butcher to remove the tenders or trim them yourself; freeze in individual portions if buying more than you need, and thaw overnight in the refrigerator)
- 3 garlic cloves (buy a fresh head; store bulbs in a breathable container away from heat and light; they last weeks this way)
- 6 tablespoons barbecue sauce (choose a brand you enjoy; refrigerate after opening and use within three months)
- Salt and freshly ground black pepper (taste as you go; this is your seasoning safety net)