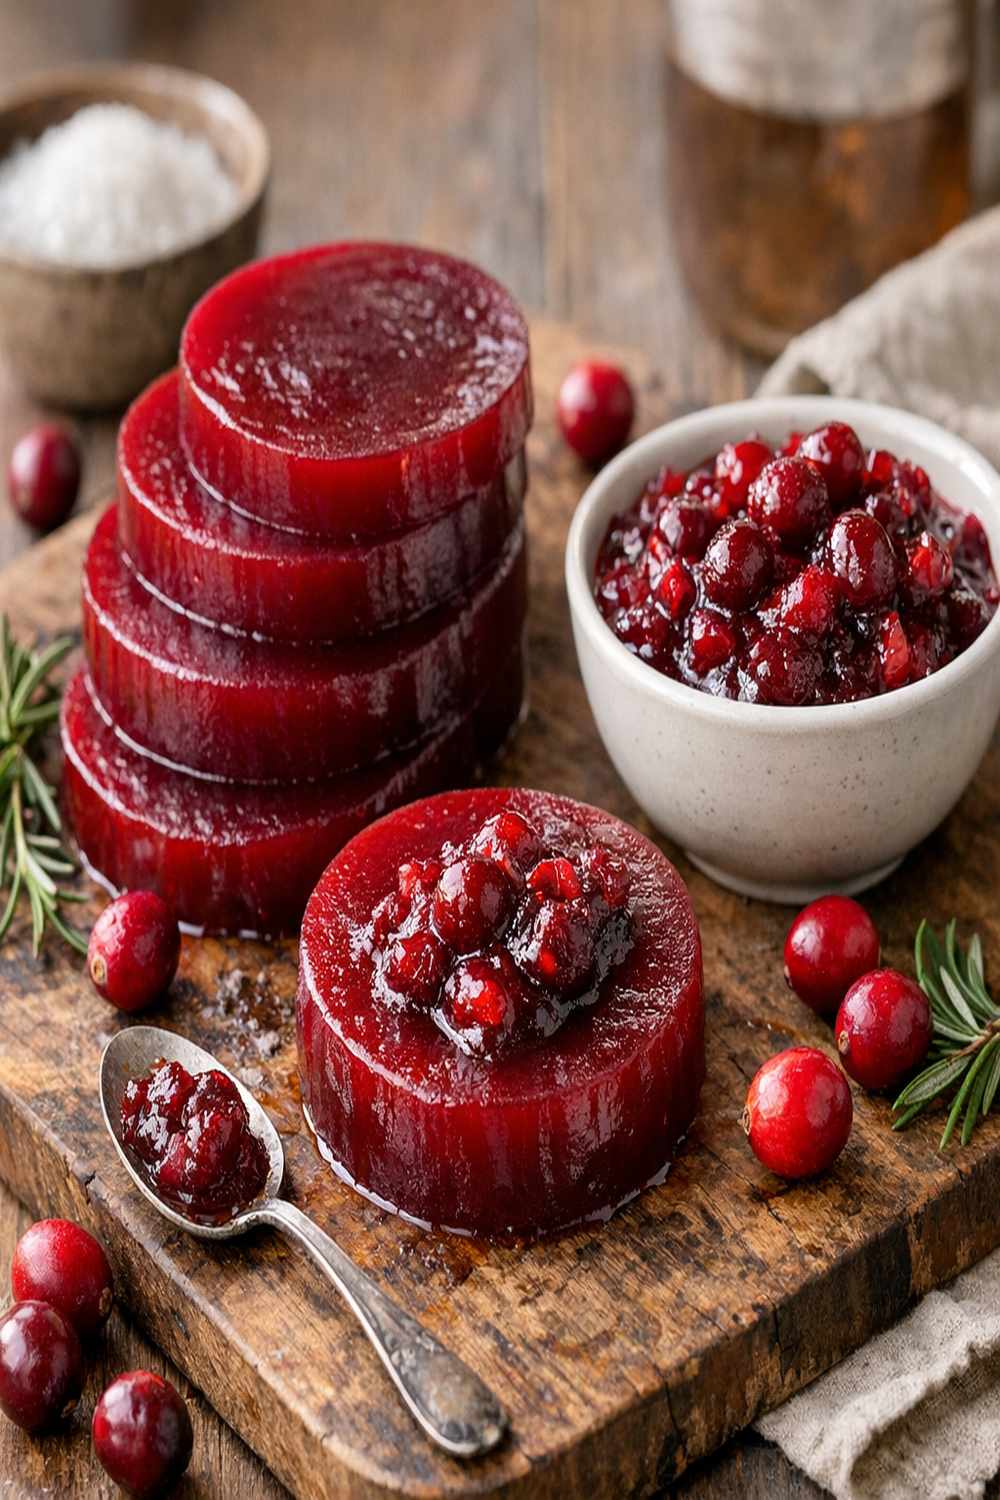

Ingredients
Method
Step 1: Prepare Your Ingredients While Water Heats
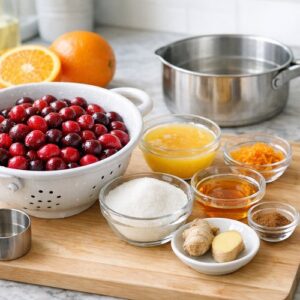
- I always mise en place my ingredients before turning on the heat—it's a professional habit that prevents scrambling later. Rinse your fresh cranberries under cool water and pick through them, discarding any soft or discolored berries (these can introduce off-flavors). If using frozen berries, thaw them completely in a colander to drain excess liquid; this prevents the syrup from becoming diluted. Pro tip from my professional kitchen days: Measure your orange zest before you zest the fruit. If you zest first and then measure, you'll always end up with too much since zesting separates the oils and makes it seem like more than it is.
Step 2: Create the Sugar Syrup Foundation
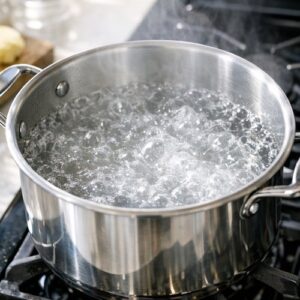
- Pour your filtered water into a heavy-bottomed stainless steel pot (not aluminum, which can react with acidic fruit) and bring it to a rolling boil over medium-high heat. Once boiling, add your sugar gradually while stirring constantly. The key here is dissolving sugar completely before adding fruit—if you add berries to undissolved sugar, they'll release moisture that interferes with the syrup setting properly. Let the syrup boil for exactly 5 minutes. This time is crucial because it allows the sugar to reach soft-ball stage, which is what creates that beautiful, glossy coating on each berry when they cook. You're not making candy, but you're using candy-making principles to control the texture.
Step 3: Add Cranberries and Begin the Pop
- Carefully add your prepared cranberries to the boiling syrup. The temperature will drop slightly—this is normal. Increase heat back to medium-high and let the berries cook for 8 to 12 minutes, stirring occasionally. You're waiting for the moment when most berries split open and release their seeds and juice into the syrup. You'll know it's happening when the syrup turns a deep, jewel-toned red and you start seeing the berry skins floating separately. This is where patience matters. If you rush this step and cook the berries too briefly, they'll stay too firm and your sauce won't achieve that beautiful, spoonable consistency. If you cook too long, the sauce becomes muddier in color and loses some of that bright tartness.
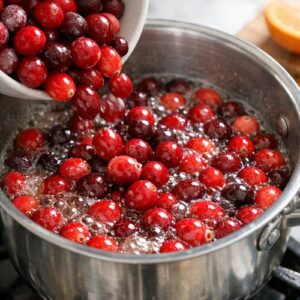
Step 4: Add Aromatics and Continue Cooking
- Once most berries have popped, add your cinnamon stick and reduce heat to medium. Continue simmering for about 12 to 15 minutes more, stirring occasionally, until the sauce reaches what I call the "sheet test." Dip a cold metal spoon into the sauce, hold it horizontally, and let it cool for just a moment. If the sauce runs slowly off the spoon in a sheet rather than dripping, you've reached the right consistency. Why cinnamon stick instead of ground? Whole spices infuse more gently and you can remove them before serving. Ground cinnamon distributes unevenly and can create spice-heavy pockets in your sauce. In the final 2 minutes of cooking, add your fresh orange zest. The heat will gently warm the oils in the zest and release their aromatic compounds without cooking them away. Add your sea salt at the same time.
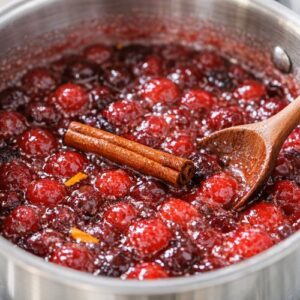
Step 5: Final Brightness and Cooling
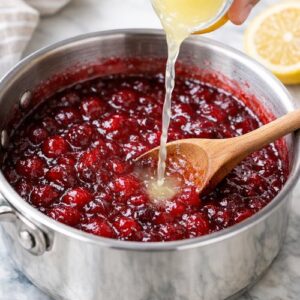
- Remove the pot from heat and immediately stir in your fresh lemon juice. Taste the sauce at this point. It should taste bright and tart with sweetness underneath, not the other way around. If it's too sweet, squeeze in more lemon juice by the teaspoon. If it's too tart for your family's preference, dissolve a tablespoon of honey in a small amount of warm water and stir it in. Remove the cinnamon stick with a slotted spoon. Let the sauce cool to room temperature, stirring occasionally—this helps the sauce set evenly and prevents a skin from forming on top.