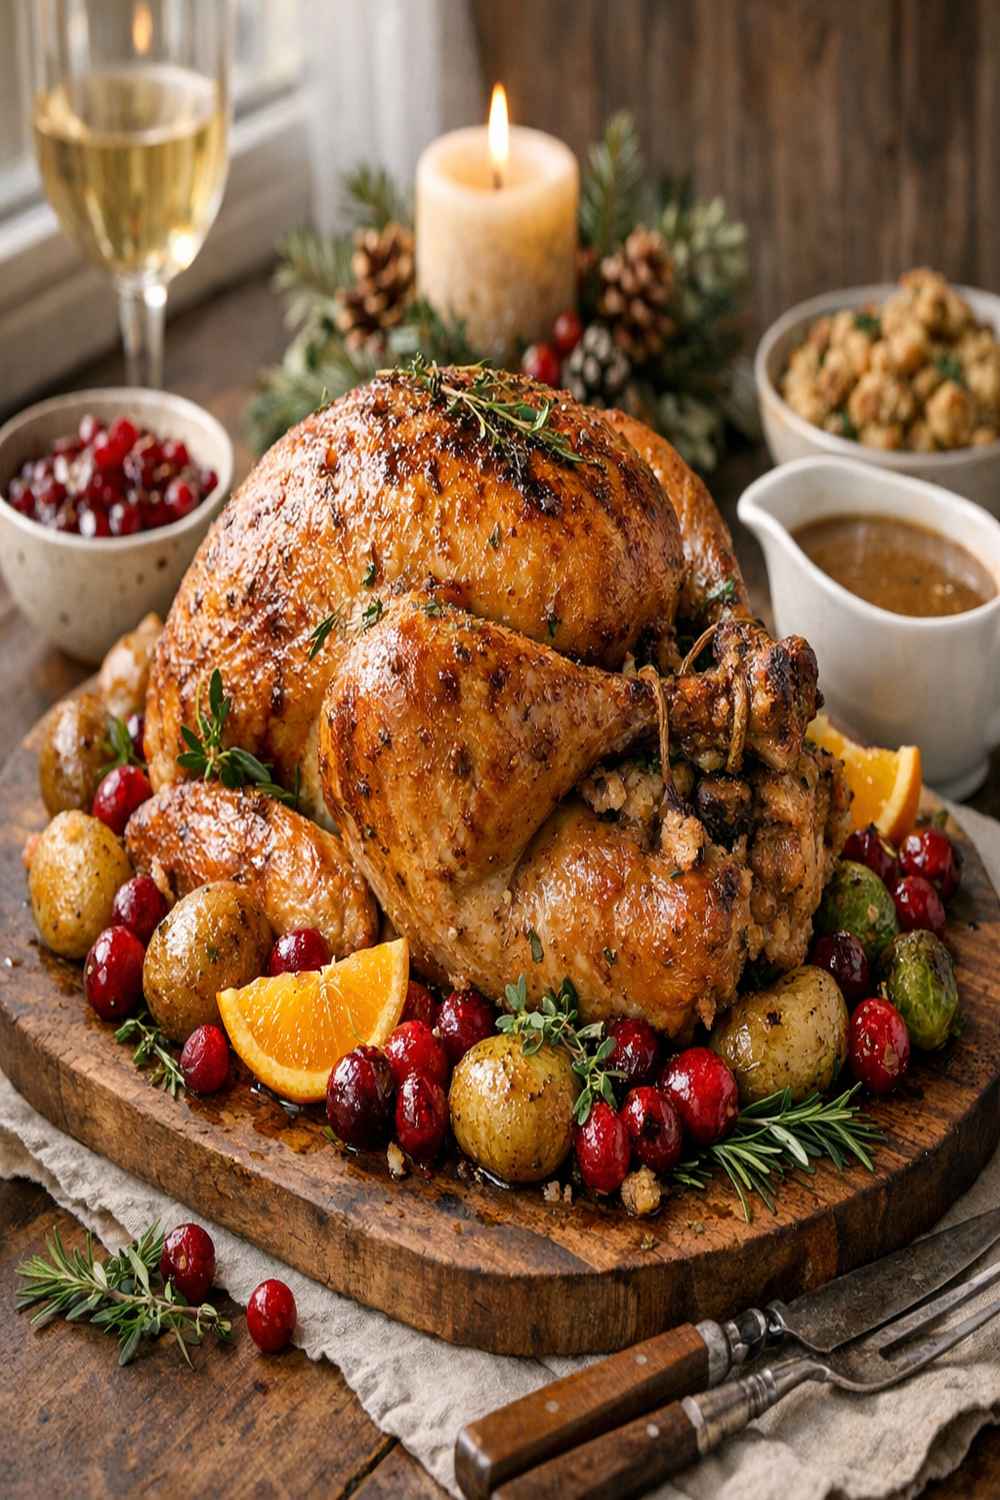

Ingredients
Method
Step 1: Dry-Brine Your Turkey (48 to 12 Hours Before Cooking)
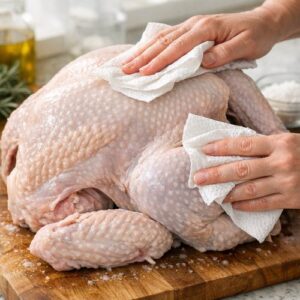
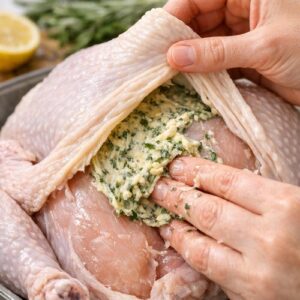
- Remove your turkey from its packaging and pat it completely dry with paper towels—moisture is the enemy of crispy skin. This is where the visual magic begins. Gently lift the skin away from the breast meat with your fingers, working carefully to create a pocket between skin and meat on both sides. Work your way down toward the thighs if you can, but the breast is your priority. Once you've loosened the skin, sprinkle 2 teaspoons of fine sea salt evenly over the exposed meat, then pull the skin back down and smooth it carefully. Season the entire exterior of the bird with additional salt, paying special attention to the thighs and the area where wings meet breast (these darker meat zones need more seasoning for proper flavor penetration). Place the bird breast-side up on a large roasting tin with raised sides—this becomes your roasting vessel. Leave it uncovered in the refrigerator. The uncovered time allows the skin to air-dry slightly, which is your secret weapon for achieving that crackling golden exterior. Your turkey is now seasoning and drying simultaneously, building incredible flavor throughout the meat.
Step 2: Prepare Your Herb Butter (1 Hour Before Cooking)
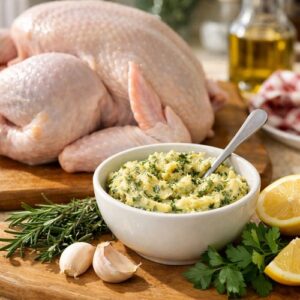
- Remove your turkey from the refrigerator and place it on the counter to bring it closer to room temperature—this ensures more even cooking. While the turkey rests, prepare your herb butter. In a small saucepan over low heat, melt your butter gently. Once melted, add your grated garlic, chopped parsley, thyme leaves, and torn bay leaf pieces. Let this mixture sizzle gently for exactly one minute—this releases aromatic oils without cooking off the fresh herb color. Squeeze your lemon juice into the mixture, stir once, then remove from heat and set aside to cool slightly. You'll notice the herbs retain their vibrant green color and the garlic becomes fragrant without browning. This is exactly what you want. Preheat your oven to 240°C (220°C fan) or gas mark 9. This high temperature will be used briefly to start the browning process, then we'll reduce it for gentle cooking. Think of it like how salmon cooks on Alaskan cedar planks—we start hot to create that caramelized exterior, then shift to gentle heat for moisture retention.
Step 3: Build Your Roasting Base (30 Minutes Before Cooking)
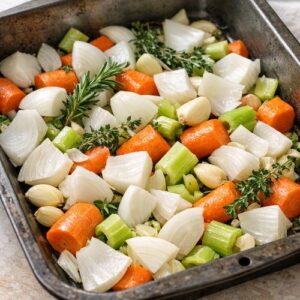
- Remove the turkey from the roasting tin and set it temporarily on a clean surface. Scatter your roughly chopped onion, carrot pieces, and the chopped turkey neck into the bottom of your roasting tin. These become your flavor foundation and will eventually enrich your gravy with deep, roasted vegetable notes. Place a sturdy roasting rack, trivet, or ovenproof cooling rack directly into or over your roasting tin. This elevates your turkey above the vegetables, allowing air to circulate underneath for even browning. Carefully position your turkey on top of the rack, breast-side up. This positioning is critical for visual appeal—the breast faces up, presenting that gorgeous golden skin to anyone carving at the table. Stuff the squeezed lemon halves (the ones you've already used for juice) deep into the turkey cavity, along with the fresh thyme sprigs and any herb stalks you reserved. Close the cavity loosely—these aromatics will infuse the meat during cooking.
Step 4: Apply Herb Butter Under the Skin (25 Minutes Before Cooking)
- This step is where visual beauty truly develops. Carefully lift the skin away from the turkey breast again—it should lift easily now that the skin has dried slightly. Spoon approximately 4 tablespoons of your herb butter directly onto the breast meat beneath the skin. Using your fingers (clean hands work best), massage the butter gently across the breast meat, spreading it as evenly as possible. You'll see the herbs distribute under the semi-translucent skin, creating a subtle green marbling effect. Now take most of your remaining herb butter and brush it all over the exterior of the turkey—breast, thighs, legs, everywhere. Reserve about 2 tablespoons for basting later. Pay special attention to the thighs and legs, which benefit from extra fat for browning. For a neat, professional finish, tie the wings and legs to the body using kitchen twine. This creates a compact, beautiful silhouette and ensures even cooking.
Step 5: The Initial High-Heat Roast (First 2 Hours)
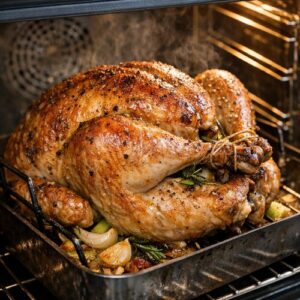
- Place your turkey in the oven at 240°C and immediately reduce the temperature to 180°C (160°C fan) or gas mark 4. We're going to roast for 2 hours total, with strategic basting every 30 minutes. After the first hour, remove the turkey from the oven and brush it generously with the reserved herb butter. Notice how the skin is already developing that golden-brown color—this is the Maillard reaction creating flavor and visual appeal simultaneously. Rotate your roasting tin 180 degrees (this ensures even heat distribution) and return to the oven for another 30 minutes. Baste again with remaining butter. Roast for the final 30 minutes. This rhythm of basting creates multiple layers of caramelization, which builds deeper color and prevents dry skin. You're building visual richness with each baste.
Step 6: Check Temperature and Rest (Temperature Check at 2 Hours)
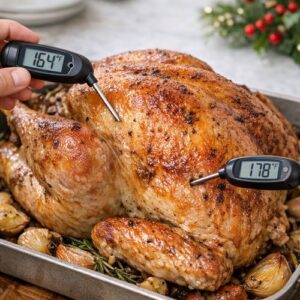
- At the 2-hour mark, insert a meat thermometer into the thickest part of the breast (not touching bone) and the thickest part of the thigh. You're aiming for 65°C in the breast and 75°C in the thigh. If either is lower, return the turkey to the oven for 15-minute increments until you reach target temperature. Once you've hit your target, remove the turkey from the oven and let it cool for 10 minutes on the rack. Here's the insider tip from my years preparing holiday meals: transfer the turkey to a cutting board and position it breast-side down for the resting period. This inverted position allows the juices to redistribute back toward the breast meat, ensuring maximum juiciness at carving time. Let it rest for at least 20 minutes—it will stay hot for 40 minutes or more. During this time, make your gravy (see step below), and your turkey reaches absolute perfection.
Step 7: Create Your Gravy (While Turkey Rests)
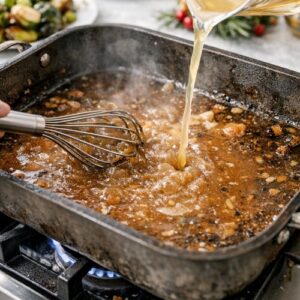
- If your roasting tin is flameproof (most modern ones are), place it directly over medium heat on your stovetop. If not, carefully transfer the pan contents to a large, shallow skillet. You'll have caramelized vegetables and the turkey giblets in the bottom, along with rendered fat and the pan drippings—this is liquid gold for gravy. Sprinkle your flour over the contents and stir constantly, creating a paste that coats the bottom of the pan. This roux captures all the savory flavor. Add your soy sauce and yeast extract, stirring to incorporate completely. Pour in your red wine—it will sizzle and deglaze the pan, lifting all the flavorful browned bits from the bottom. Stir constantly until you've formed a thick paste. Slowly pour in your stock and any turkey juices that accumulated on the resting board. Simmer for about 5 minutes, stirring frequently, until your gravy is rich, glossy, and deep bronze in color. Strain it through a fine mesh sieve into a warm jug or saucepan for serving. This gravy, with its luxurious color and silken texture, elevates your presentation from good to extraordinary.
Notes
- Natural Light Window - Position your platter near a north-facing window for soft, diffused light that brings out the golden skin tones without creating harsh shadows. If you're photographing an evening meal, use a simple white reflector (a foam board or white sheet) opposite the light source to bounce light back onto the darker thigh areas.
- Angle Matters - Shoot from a 45-degree angle slightly above the platter, capturing the rounded breast and the height of the presentation while still showing the detail of the herb garnish and gravy pool. Avoid directly overhead shots, which flatten the visual impact of the turkey's three-dimensional form.
- Prop Strategically - Include the gravy boat slightly out of focus in the background, or position a single carving knife across the lower edge of the platter. These elements tell the story of the meal about to unfold without competing for visual attention.