
Ingredients
Method
Step 1: Toast Your Coconut Separately for Maximum Flavor
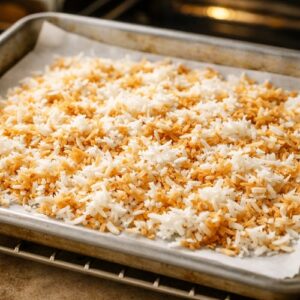
- Preheat your oven to 325°F and spread the unsweetened coconut onto a parchment-lined baking sheet. This lower temperature is intentionally different from where you'll bake the custard. At 325°F, the coconut browns slowly and evenly, developing deep nutty notes without the harsh burnt flavor that happens above 350°F. Toast for 5-8 minutes, stirring once or twice halfway through. Watch closely—coconut can go from golden to burnt in literally 30 seconds. You're looking for speckled golden flakes and that unmistakable toasty aroma. When it smells like you're standing in a tropical bakery, it's done. Set this aside. Why this matters: Most recipes add raw coconut to the filling, which never toasts properly because it's insulated by the custard. Toasting separately brings out the coconut's natural sweetness and complexity. It's the difference between tasting "coconut flavoring" and tasting actual coconut.
Step 2: Increase Heat and Blind-Bake Your Crust
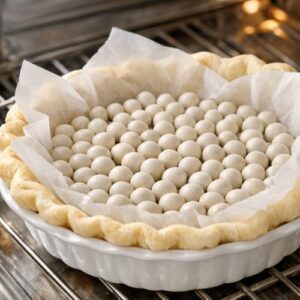
- Now raise your oven temperature to 375°F. While it preheats, prepare your pie crust according to your recipe—either homemade or thawed frozen. Press it into a 9-inch pie plate, preferably metal rather than ceramic. Metal conducts heat more effectively and gives you a crispier, more evenly-browned crust. Blind-bake by lining the crust with parchment paper and filling it with pie weights (or dried beans if you don't have weights). Bake for 12-15 minutes until the edges are light golden. Remove the weights and parchment, then bake for another 3-5 minutes until the bottom looks dry and pale golden. The crust should be partially set but not completely baked through. Why this matters: Blind-baking prevents sogginess and ensures the crust sets before the custard weight pressures it. The partial bake means it won't overbake when the custard goes in. You're creating a structure, not just a shell.
Step 3: Prepare Your Custard Base While Crust Bakes
- While the crust is in the oven, combine your whole milk, eggs, sugar, vanilla extract, coconut extract (if using), and sea salt in a large mixing bowl. Whisk these together thoroughly—this is important for smooth texture—until the mixture is well combined and the sugar has mostly dissolved. The room-temperature eggs are crucial here. Cold eggs cause temperature shock when you add the warm custard base to the hot crust, which can cause uneven cooking. Let them sit on your counter for 15 minutes before you start if they're straight from the refrigerator. Why this matters: Proper whisking creates an emulsion that helps the custard set evenly. Under-whisked custard can have streaky texture or separate during baking.
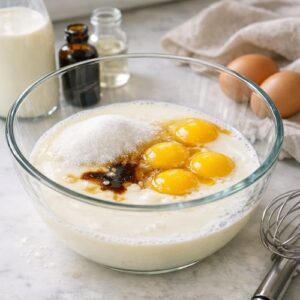
Step 4: Add Your Star Ingredients and Combine
- Pour the heavy cream into your custard mixture and stir to combine. Then fold in your toasted coconut—the same coconut you toasted 15 minutes ago when you started the process. The residual heat from the coconut gently warm your mixture without cooking it, which is perfect. Stir gently but thoroughly so the coconut is evenly distributed throughout the filling. This is where patience pays off. Quick, aggressive stirring can incorporate too much air, which leads to bubbles in your baked custard (cosmetic issue) or small pockets of air that create uneven texture. Why this matters: The toasted coconut needs to distribute evenly so you get coconut flavor in every bite. Uneven distribution means some bites taste like plain custard and others taste overly coconut-forward.
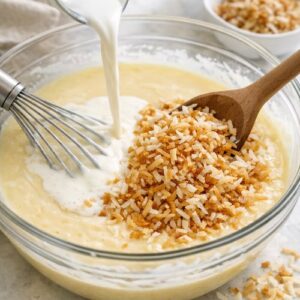
Step 5: Pour and Protect the Edges
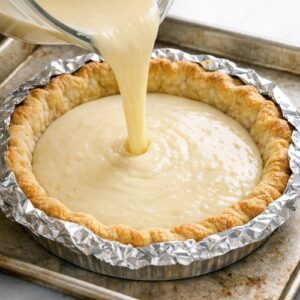
- Pour your filling into the blind-baked pie crust. If you're reusing the same baking sheet from toasting (wash it first!), place it back on your oven rack. This catches any spills and creates a larger thermal mass that helps the bottom of your pie bake evenly. Place a pie crust shield over the edges of your crust, or cover just the edge with foil. This is non-negotiable if you want a golden crust that isn't burnt. The edges cook much faster than the center, so protecting them ensures they stay golden while the filling sets. Why this matters: Unprotected edges burn because they're exposed to direct oven heat and have no custard insulation. Protected edges bake to a perfect golden color. You can remove the shield or foil 10 minutes before the pie finishes baking if you want a bit more color.
Step 6: Bake With Precision Timing
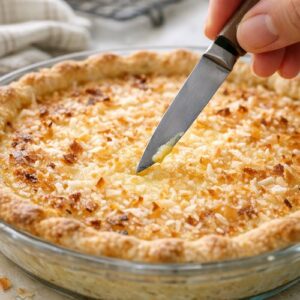
- Bake at 375°F for 45-50 minutes. The pie is done when a knife inserted into the center comes out clean or with just a tiny amount of custard clinging to it. The very center might jiggle slightly when you gently shake the oven rack, but it should not be a full liquid jiggle. Think of the consistency of barely-set gelatin. At 45 minutes, insert a knife into the center (between 12 and 1 o'clock, away from where you'll slice). If it comes out clean, you're done. If it still has liquid custard clinging to it, give it another 3-5 minutes. Every oven is different, so trust the knife test over the timer. Why this matters: Overbaked custard becomes rubbery and separated. Underbaked custard is unsafe and has wrong texture. The knife test gives you certainty instead of guessing. A knife works better than a toothpick because it transfers heat slightly, giving you a more accurate reading.
Step 7: Cool and Chill for Best Flavor and Structure
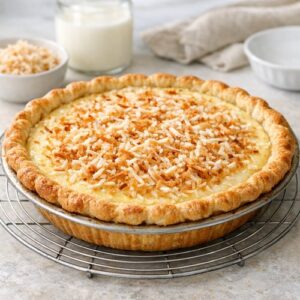
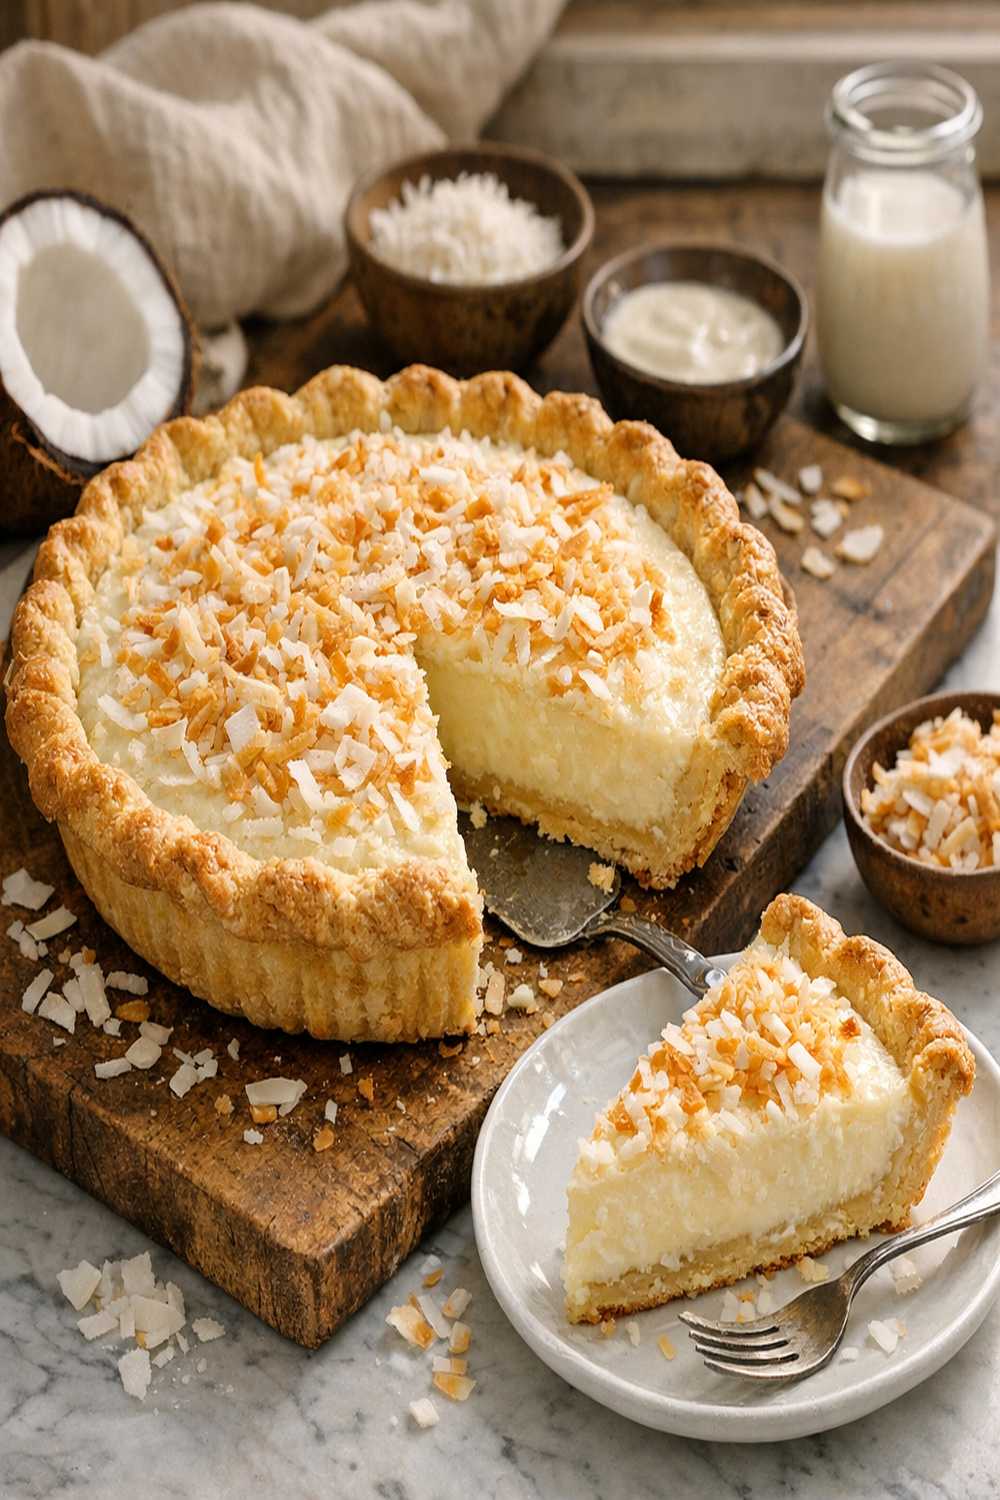
- Remove the pie from the oven and let it cool to room temperature on a wire rack—about 2-3 hours. Don't refrigerate it while it's still warm, which creates condensation and makes the crust soggy. Once it's completely cool, cover it loosely with plastic wrap and refrigerate for at least 4 hours, ideally overnight. The chilling time isn't just about temperature. It's when the custard fully sets and the flavors develop and mellow. A custard pie tastes noticeably better the day after baking because the flavors have integrated and the texture has fully set. Why this matters: Chilling allows the custard to reach its final texture and flavor profile. Warm custard tastes different—the sweetness is more pronounced and the coconut flavor is harsher. Cold custard tastes balanced and refined. This is when you know your pie is actually finished cooking, even though the oven baking is done.